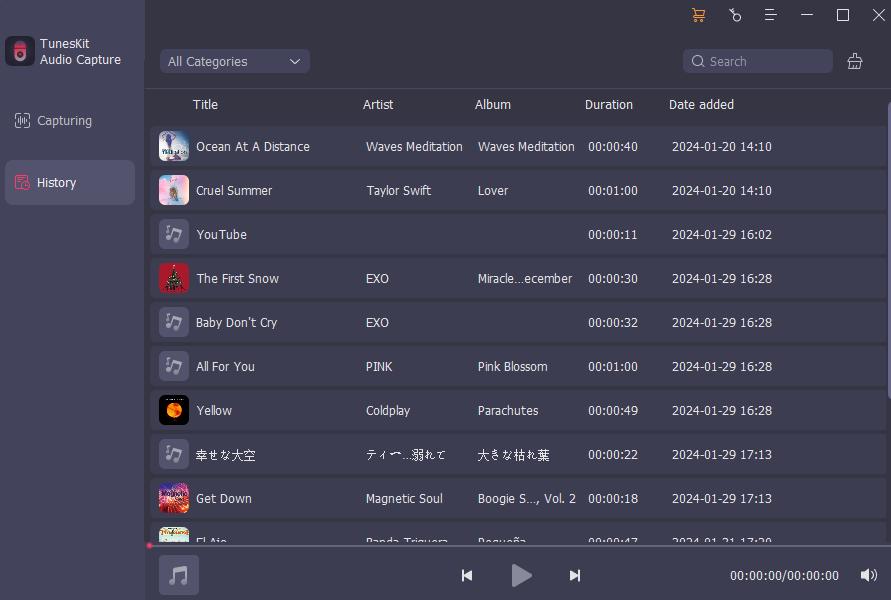
TunesKit Audio Capture for Windows is a multi-track sound recording tool specialized in capturing any kind of audios on computer, including streaming music playing in web players, desktop media players and other programs within one click. Here you'll find the whole steps to record and convert computer sounds into MP3, WAV, FLAC and other compressed formats using TunesKit Audio Capture on your Windows PC. Once recorded, you can play the tracks on any device without limit.
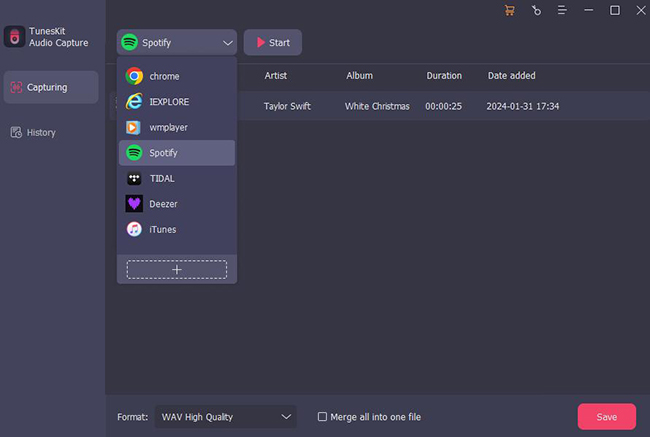
Now download and install the free trial version of TunesKit Audio Capture to begin recording any music, audio, voice on your computer losslessly.

 button at the bottom right corner and set the output preferences in the popup window. It supports common output formats including MP3, WAV, AAC, M4A, M4B and FLAC now. You can set the audio quality, such as codec, sample rate, bit rate, etc. to personalize the output audio according to your specific needs. To set output folder and others, you should click the top menu --> Prerferences to get it done.
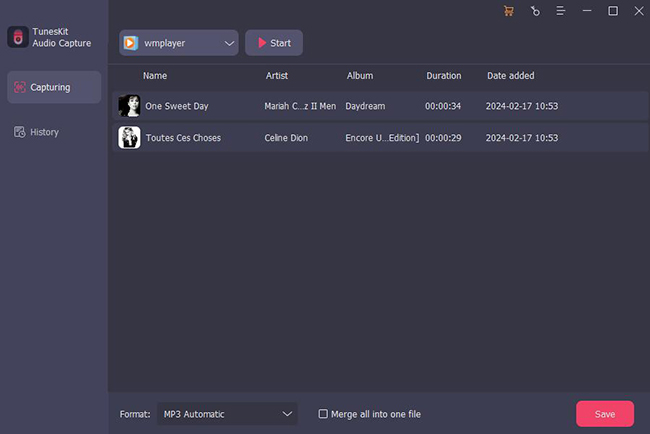
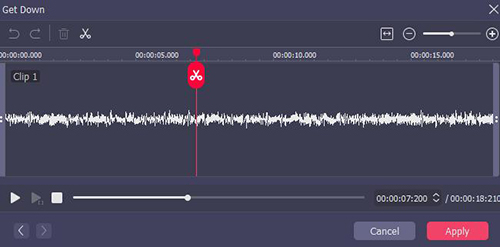
 icon of each track to trim the audio tracks by time length. You can set the segment either by clicking the time slider or enter the values manually. In the specific window, you can also manage the ID3 tags of the audio, including adding the cover picture, artist, music title, year, etc. Besides, if you are capturing multiple tracks simultaneously, you can also choose to merge different tracks into one through the merge function.
 at the bottom of the window.